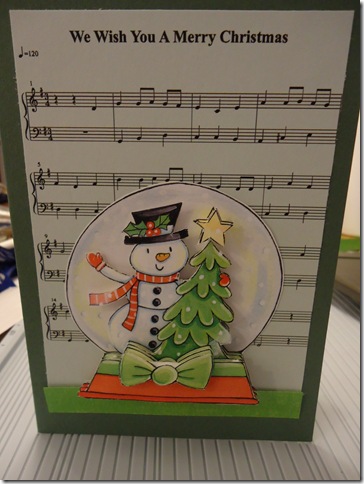
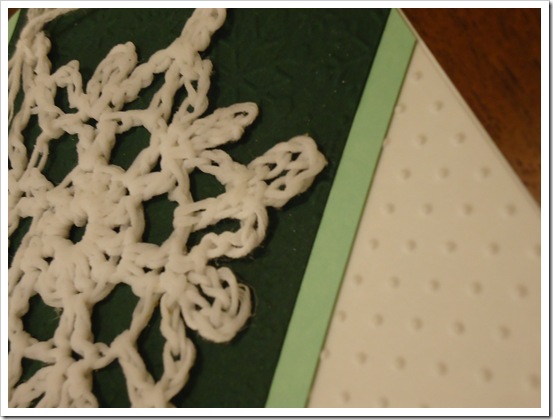
The card base is a 5 1/2 inch square, embossed with tiny dots. The snowflake is tied on another dark green square, embossed with snowflakes. I sandwiched a piece of light green cardstock to “frame” the snowflake mat.
Inside I actually stamped a sentiment (I’m a terrible stamper, and have to practice way more!!!). The sentiment said “Be Merry”.
The snowflake is very easy to do, it is a total of 3 rows, and takes about 10 minutes from start to finish. It took longer to put the stiffener on it and pull it into shape than it took to make it. For those of you that can crochet, I’ll put how I made it below.
Enjoy! And thanks for visiting me from the Card a Day Blog! Make sure to visit there tomorrow for another “ornament” inspiration from Michelle Hessler from Paperthreads!
Below: A picture of card front and a closeup of “textures” used.
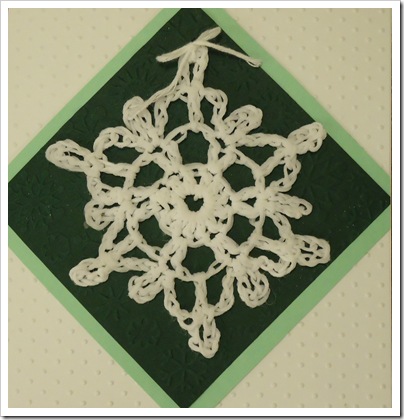
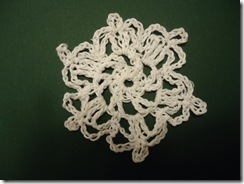
Below, a picture of another snowflake I made before stiffening!
Simple Crocheted Snowflake Pattern.
I used 3 ply crochet cotton, and a 3 1/4 mm crochet hook.
Chain 6, slip stitch together into a loop.
Row 1: Chain 3, double crochet 11 into the “ring”. Slip stitch to the top of the 3rd chain from the beginning of the row.
Row 2: Chain 3, double crochet into the same stitch (beginning of row).chain 4. *Skip a stitch, double crochet 2 times into next stitch, chain 4*. Repeat ** until you have 6 sets of (2 double crochets). Slip stitch the row together.
Row 3: *Chain 4, double crochet into void (between two sets of double crochets). Chain 6, slip stitch into top of double crochet. Chain 4, slip stitch inbetween 2 of the double crochets of previous row. Chain 6, slip stitch into previous stitch to form loop.* Repeat ** until you have 6 sets (and complete row)… slip stitch together and tie off. Secure ends.
Finishing…. use stiffener of choice, and lay flat on plastic wrap or waxed paper. Once dry you can hang on your tree or use on a card or for a gift topper etc.!
